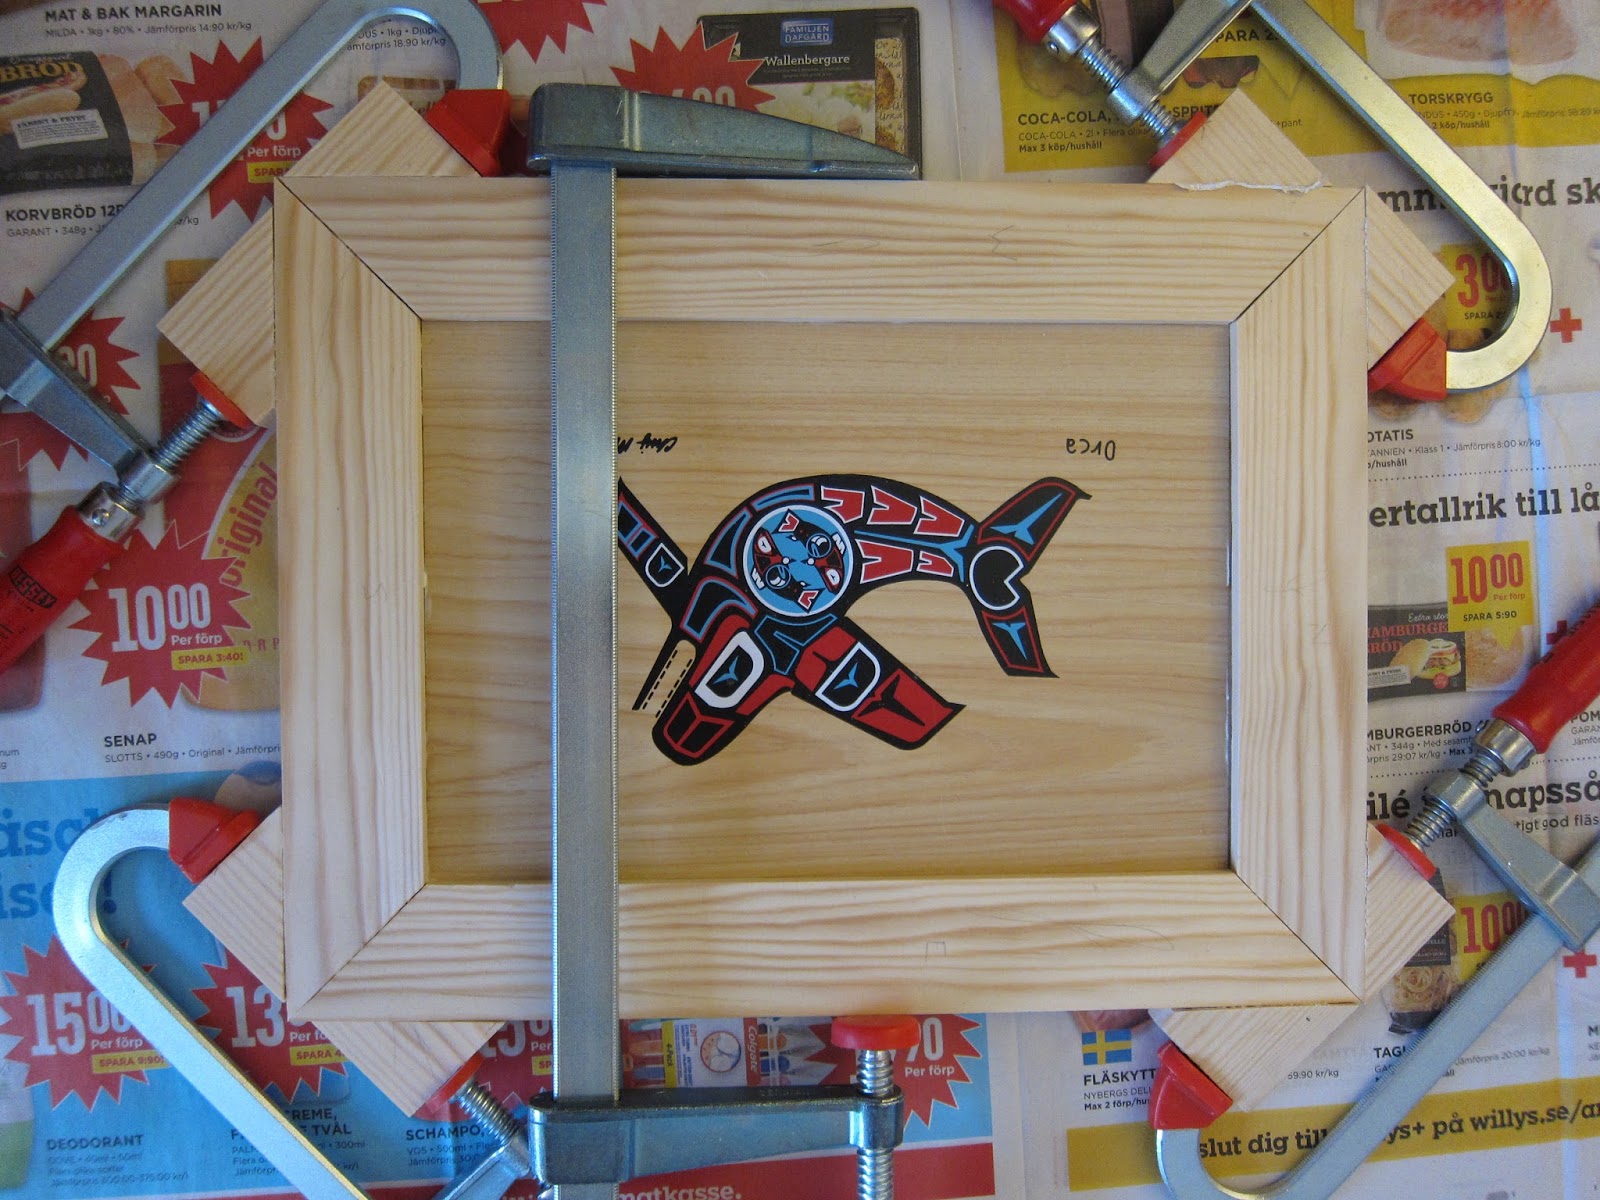
An upcoming project requires a mitered panel door. Since miters are notoriously difficult to do right, I was a bit nervous about this step in the project.
The stock came milled right from the lumberyard. OK, there are some machine marks, but the dimensions were exactly what I required. Of course the three meter long stock neede to be broken down in the living room before being brought into the shop.
Here's the panel, a plywood sheet silkscreened with a Haida orca image that came from a box of smoked salmon. The sheet, together with the frame material is perfectly dimensioned for this project.
Since my daughter was home sick for the day, I moved the construction of this project into the living room to keep her company.
The miter box and miter shooting board got a workout today.
My longest clamps aren't long enough for this panel, so I thought I'd try using some very strong double-stick tape on the 45 degree off-cuts from the frame.
This worked out, but the blocks did have a tendancy to slide, so I didn't get as much clamping pressure as I would have liked.
After the glue was half dry, I applied more pressure just across the breadth of the panel with the clamps I have. This seemed to do the trick, mostly closing the miter gaps but at the cost of reducing the width/increasing the length slightly. The panel is not fully seated in the grooves in the top and bottom rails. I did glue the panel, as it is plywood, so we'll see how well it holds over the years. Since the signature was now positioned the wrong way, I removed it with some nail polish remover (sorry Chris Mahan) and will make up for the splotches with some beeswax/linseed oil and shellac.


No comments:
Post a Comment